Tutorial: How to reduce noise in Photoshop by stacking images
In this tutorial, I’ll show you how to stack images in Photoshop CC 2020 with the goal to reduce noise

Introduction
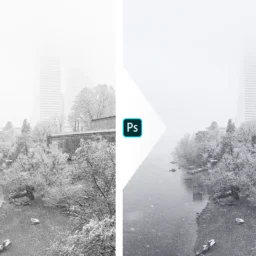
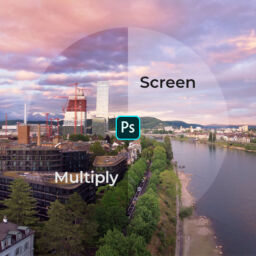
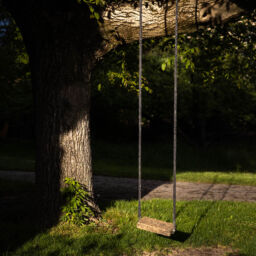
Hello there fellow photographer! “Reducing Noise sounds awesome” I hear you say, “but why should I go to Photoshop for it?”. Many programs that reduce noise have become particularly good and there may indeed be no need. Depending on the device you are looking at the image above, you may not notice a big difference. However, I’m using it regularly in my drone photography and I give you a few reasons below:
- Your camera produces noisy images – and that’s what you work with
- You don’t want to crank up the de-noise slider Lightroom or ACR too high because you lose too much detail
- You are – like me – using a drone which has limited low light capability and cannot stand the noisy skies and streets
- You can combine this technique in combination with the de-noise feature in Lightroom 😎
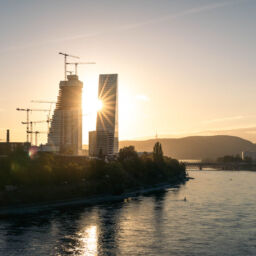
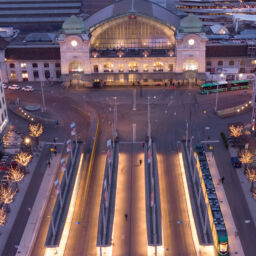
There is a fairly simple way to stack images to reduce noise in Photoshop. I love my drone, but the low light capabilities are limited. And since my favorite time of shooting is in the twilight when the city lights are on, I have to crank up ISO which then introduces a lot of noise. When looking at the images on a big screen it becomes very obvious, but even on smaller ones like tablets of phones the streets and skies can look “gritty” and the colors somehow “dirty”. Surely a better and more expensive drone would likely introduce less noise, but I don’t have one. So, what do I do? Instead of one I take a series of images of the same motive and combine them in Photoshop to reduce noise.
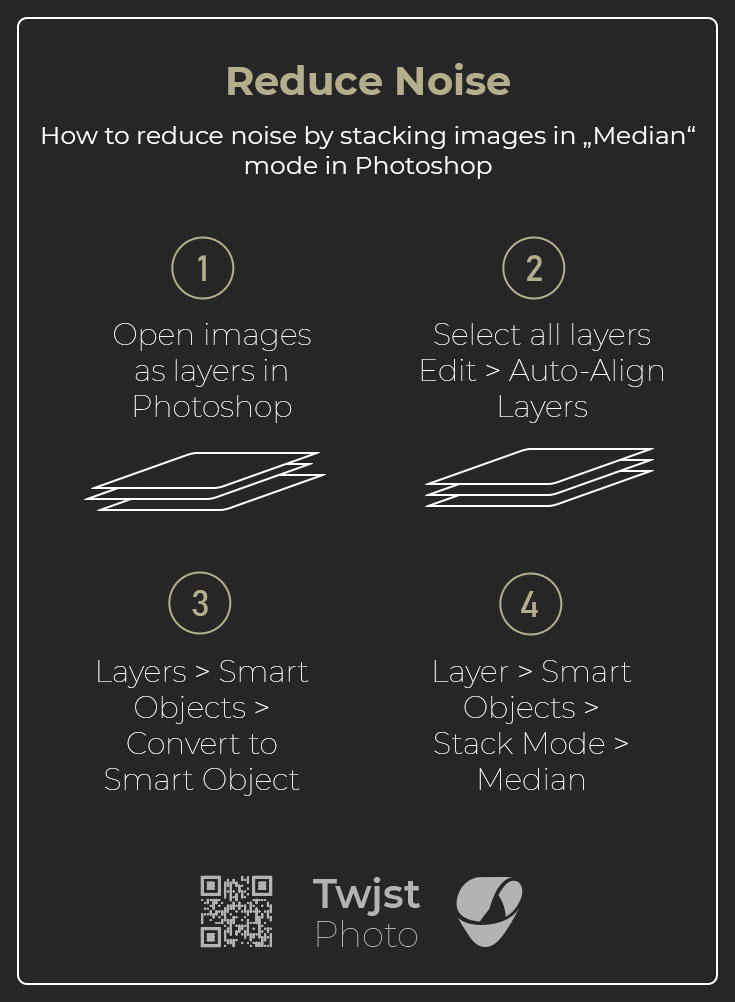
Here are the steps you need to follow
At the end of this post, you can find a free cheat sheet to remember the technique!
- In Lightroom you can select them and choose “edit in photoshop as layers”
- OR open them individually in photoshop and stack them as layers
- OR Copy / Paste the images directly
- Select all layers
- Choose Edit > Auto-Align Layers
- Leave projection on “auto” and hit “OK”
- With all the layers still selected:
- Choose Layers > Smart Objects > Convert to Smart Object
- OR right click one of the selected layers and choose “Convert to Smart Object”
- With the Smart Object Selected
- Choose Layer > Smart Objects > Stack Mode > Median
🎉Tadaaaa, there you go. You are most welcome 🙂 Grab the cheat sheet below and make sure to leave a comment!
You may wonder why you should use “Median” and not “Mean” as stack mode. After all I used it in this tutorial. While averaging pixels can reduce the noise somewhat, using the median is just much more effective. It’s also better to remove moving subjects. However, be careful since it also can leave some nasty artefacts when you have moving subjects! You can read about how it is calculated here. Now go and give it a try yourself!
If you want to read about image stacks from the official side, you can find the Adobe Photoshop Guide help here. Are you someone who likes to have a cheat-sheet? I have just the right thing for you, for free. In case you post it somewhere please make sure to credit twjst.photo. See you next time around!
Did you like this Tutorial?
I hope it proves useful and you can take something with you. Let me know below if you have any questions, comments or suggestions – or share directly on social media.