A simple edit with profound effects
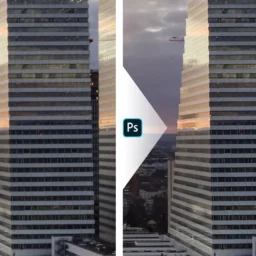
In this Lightroom editing workflow tutorial, I will show you how I edited one of my photographs with the goal to emphasize the already present light mood in the scene. I showed the image for the first time in this blogpost, and since the editing is not overly complex it makes for a good workflow tutorial. Below you can use the sliders in the before and after images to see the difference. Would you have taken the same route – or a completely different one? Is there something you can teach me? Please be so kind to leave a comment below the blogpost!
Seeing the Light?
I hear and read for the longest time that I need to see the light in a scene or a photograph. While this sounds incredibly easy for anyone with working eyes, I find myself struggling to really understand. I’ll go through some misconceptions I had in the past and how I look at it now – but rest assured this is an ongoing journey in which I will hopefully be able to further evolve this concept.
What does “seeing the light” even mean? Should I look at the histogram? Or am I to analyze the bright and darks in a scene? What about contrast? My mind is rather analytical, and so I looked at all the details of an image and noted bright surfaces and dark parts. But since every scene looks different, I could not connect any dots, did not see any patterns. The histogram also is a nice starting point, but it will again depend on the overall scene – no common pattern there. Contrast surely can have a big impact on an image, but how do I use it to see the light? While I somehow always felt I could recognize a great image with beautiful light, I did not grasp what made them great. And without this: no idea how to ultimately make better images myself. It was frankly quite frustrating.
While those points are surely all connected to the theme, none of those led to any revelation.
Take a step back
The first big step for me was to realize that I had to take a step back. While I was analyzing and trying to find patterns connecting light and dark in the details of an image I failed to see the bigger picture. And this bigger picture is larger than the photograph itself.
Images that I like do not necessarily show the light source – usually the sun – but the scene establishes nicely where it is and how it is illuminating the scene. In those I can see a kind of “flow” of light through the scene, I can establish where the light comes from, how it makes its way through the frame and what it touches – and maybe even more importantly: what it does not.
Less is more
The second important bit to understand was: I can see the light much better when there is less of it. This can be achieved in many ways, but I tend to darken the shadows or areas which distract from the light I want to be the focus of the image. This is the main principle in my edit below – and you will see that most steps I took are to emphasize the light by darkening areas for them not to be distractive.
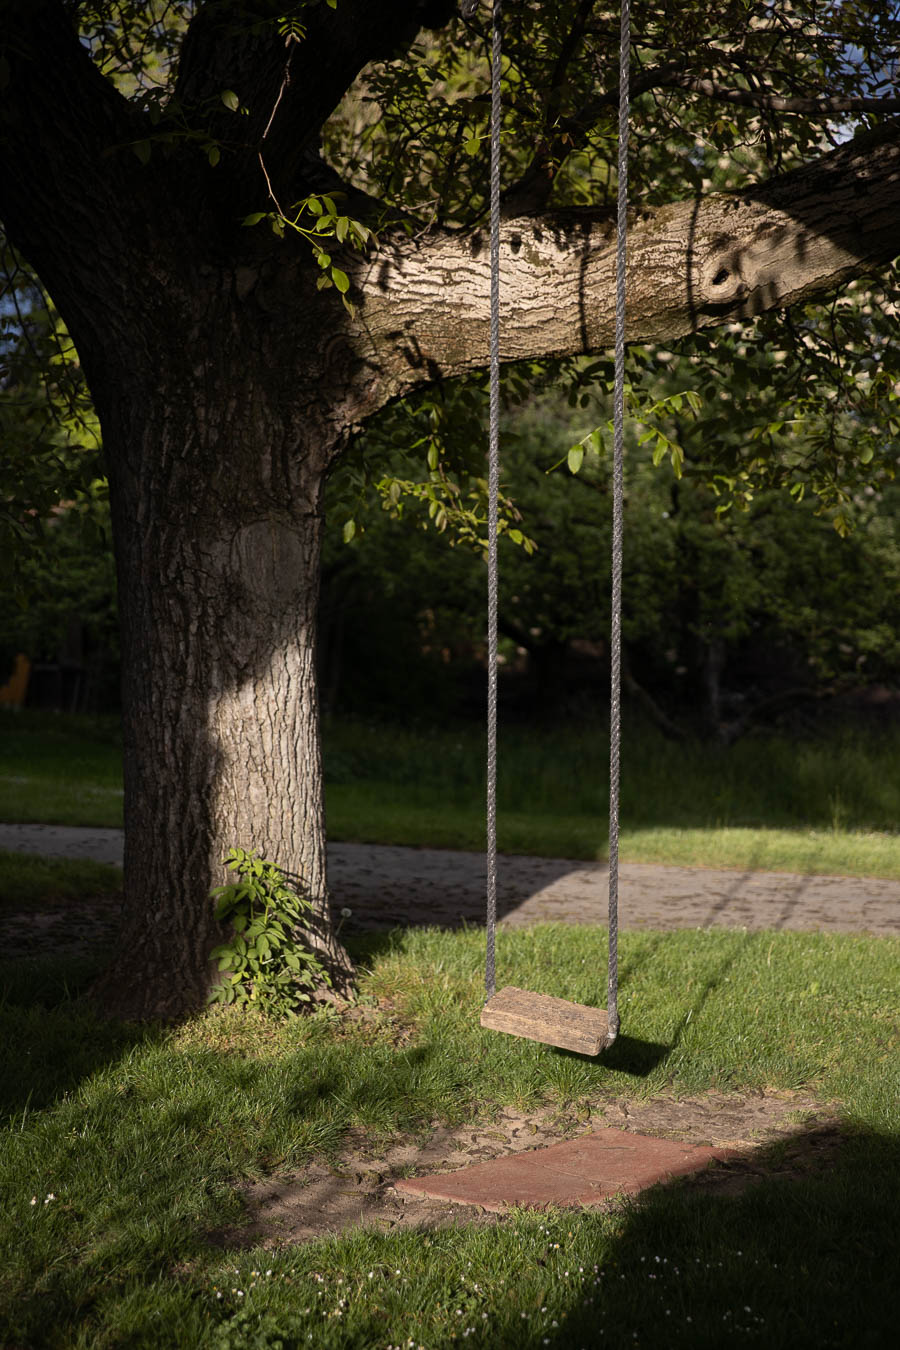
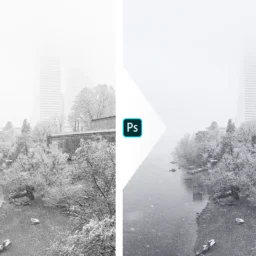
Original Image
On an evening walk I passed by a farm nearby called “Paradieshof”. So, let us have a look at the original image, the scene is quite simple: A beautiful old tree which is framing the scene on the left and top. The subject is clearly the swing which is seemingly hanging from the sky from very sturdy ropes (how awesome is this!). As the third ingredient the light which is shining past a building behind me and just hits a small part of the tree and the swing – the rest is in shadow.
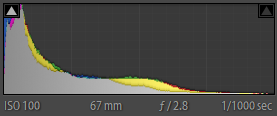
Looking at the histogram you can see I made sure to not blow my highlights and was still able to maintain details in the shadows. Looking at the histogram alone I would think this is rather dark. But the image does not look like this to me, the midtones and the few highlights are dominating and overall, it is a rather friendly image in my eyes.
Darkening the Image while Retaining Highlights
Do you remember that quote from the introduction?
I can see light much better when there is less of it
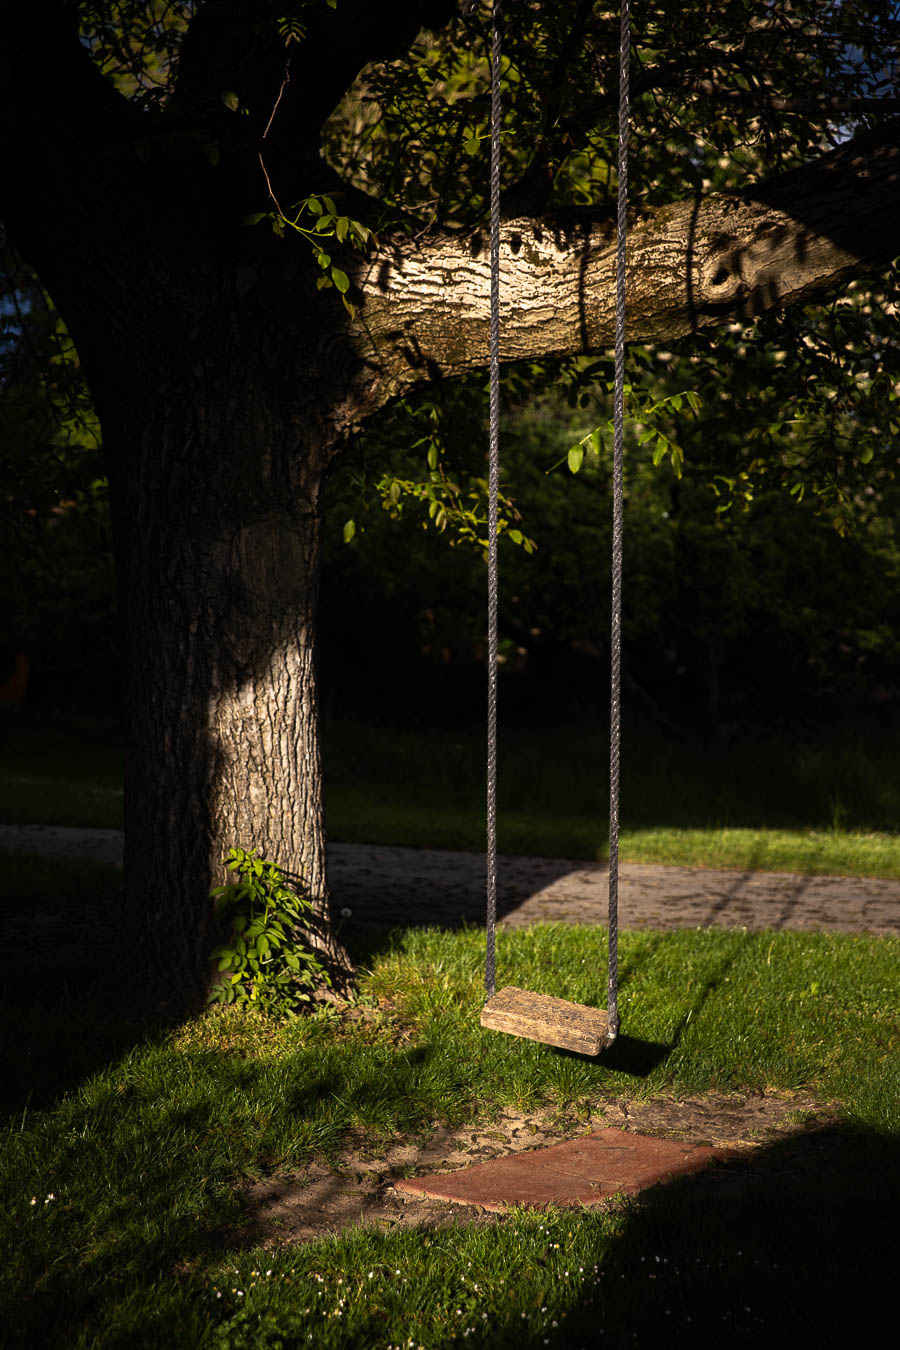
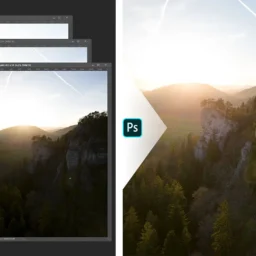
So, the next step is to decrease the exposure while keeping the highlights, basically reducing the overall amount of light while keeping or even enhancing the present highlights. As you can see below, I lower the exposure almost 1.5 stops, lower the highlights significantly, while boosting the whites. The result is already remarkably close to the final product.

Darken with Gradients to Focus on the Subject

Next, I use two vertical gradient filters from each side darkening the exposure another 0.3 stops. From the left up to the middle of the tree, from the right almost up to the swing. This simple edit puts more emphasis onto the subject: The Swing. It further darkens any distracting highlights and lets the highlights in the centre of the frame shine more.

Selective Radial Filters to remove distractions
With this I am almost done, there is one last thing which is bothering me: Our first step did also emphasize some highlights left of the tree and in the top right corner. In addition, it also boosted the saturation of the greens and blues there.
To get around this I use two radial filters where I further reduce the exposure, the whites, highlights, and the saturation. The range mask makes sure this only affects the bright parts.
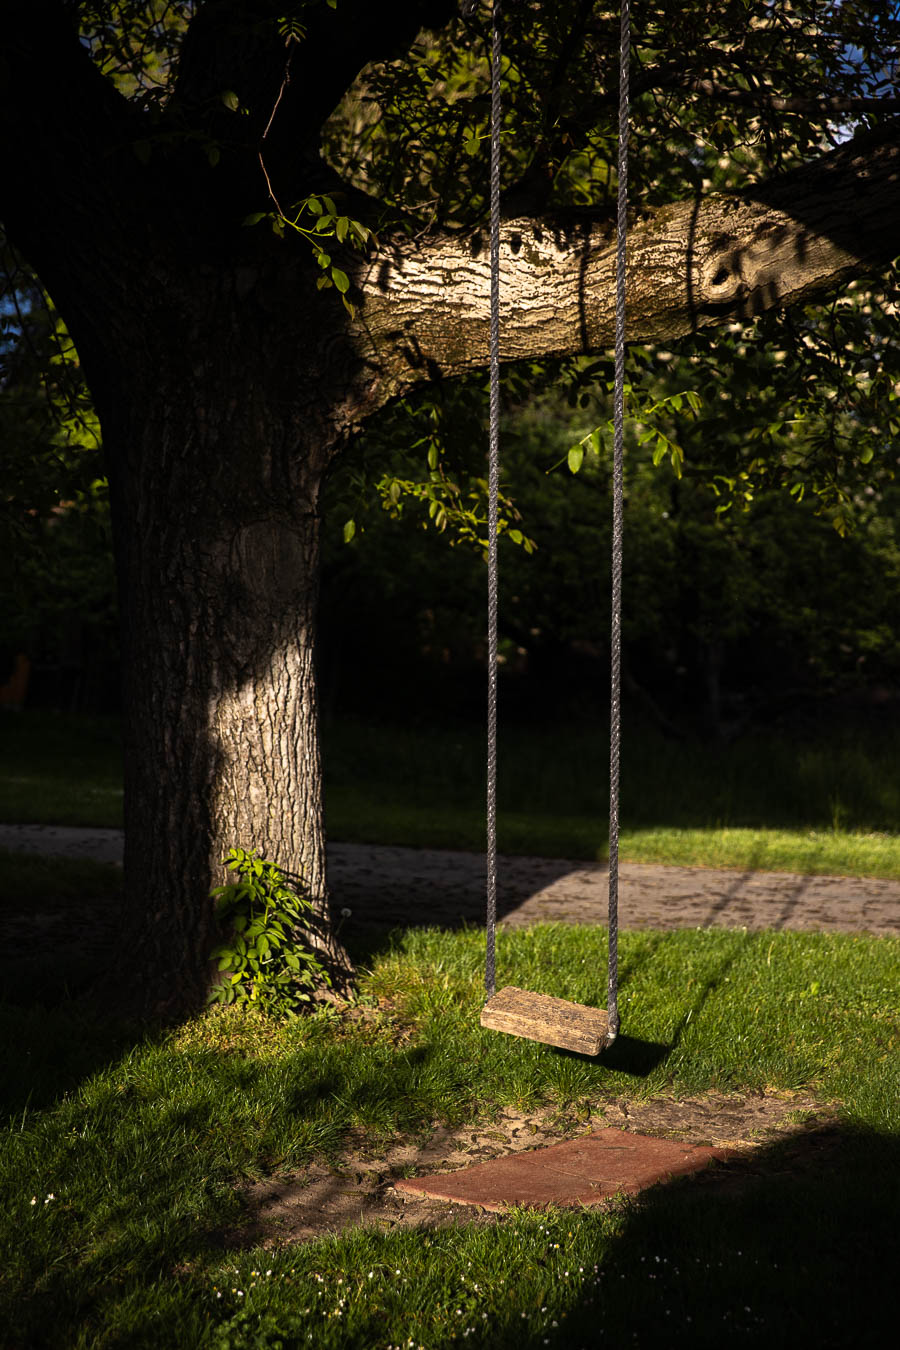
And this is it, this is already the finished image. Pretty minimal edit, wouldn’t you agree?

Final thoughts
That I can see the light when taking this image is quite a step forward for me. I took the image with intent and already knew what I wanted to achieve in post-production. Of course I hope these abilities continue to evolve.
I already stated that I read a lot of articles and watched many videos over the years. Currently a big source of inspiration is the Expressive Photography YouTube Channel by Alister Benn, I highly recommend his “Compositional Consequences” series and also if you have a bit more time the “Vision and Light” series where he is talking to other top landscape photographers.
Do you like this Workflow?
I hope it proves useful and you can take something with you. Let me know below if you have any questions, comments, or suggestions – or share directly on social media.

Sehr schönes Bild! Du hast den Effekt von Licht und Schatten schon im Raw-Bild sehr gut eingefangen und durch die Bearbeitung noch weiter hervorgehoben. Faszinierend wie man mit eigentlich minimalistischer Bearbeitung doch noch so viel rausholen kann. Ich denke, ich hätte die Bearbeitung wohl ähnlich gemacht. Mich würde noch interessieren, wie das Histogramm des editierten Bildes aussieht im Vergleich zum Raw. Liebe Grüsse, Nadia
Danke viel mals Nadia! Ja, das ist ein Bild mit sehr wenigen Bearbeitungsschritten und man muss bei gewissen schon genau hinsehen um zu erkennen was sich geändert hat 😄 Das Histogramm des editierten Bildes sieht nicht viel anders aus, nur die Schatten sind alle etwas näher zusammen in Richtung Schwarz. Total unspektakulär 😉