Tutorial: Sharpen Images in Photoshop
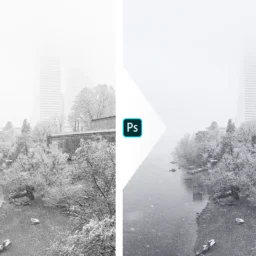
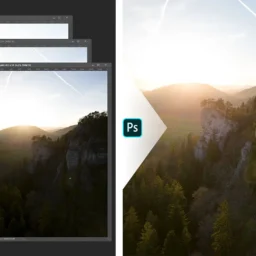
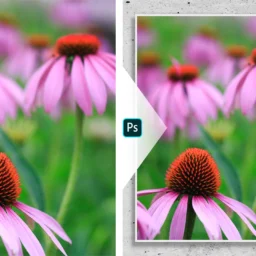
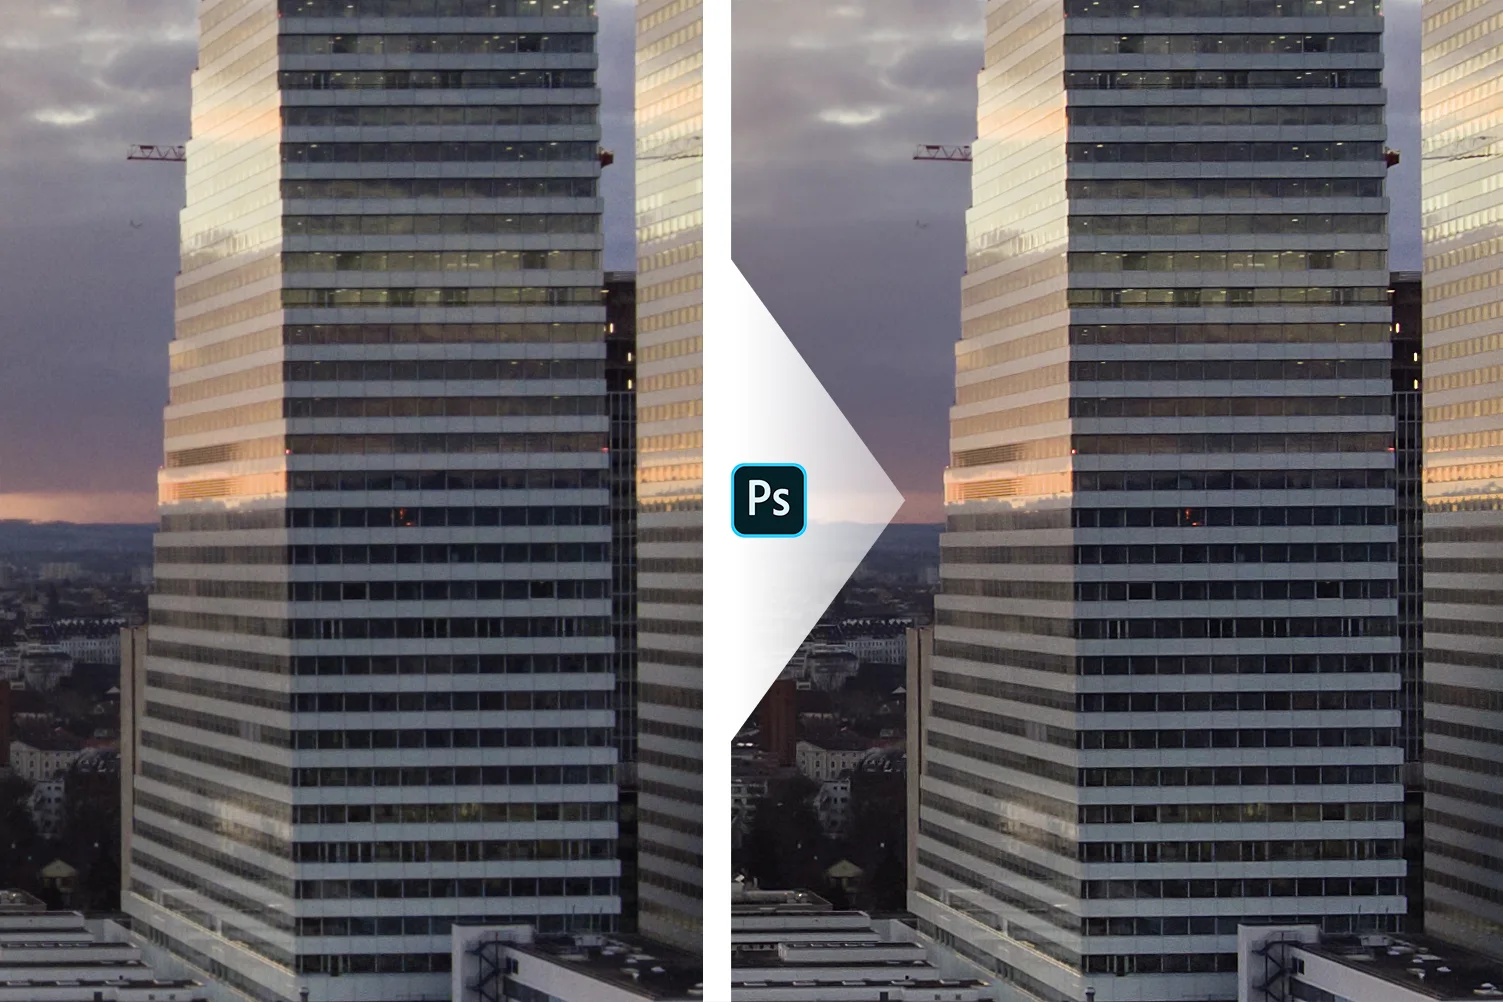
In this tutorial, I’ll show you how I sharpen my images in Photoshop CC 2022 by using a high pass filter and the linear light blend mode
Introduction
Hello there fellow photographer! “I need the sharpest images of them all” I hear you say?. This of course starts when you take your image, but sharpening in post processing is a standard technique worth mastering.
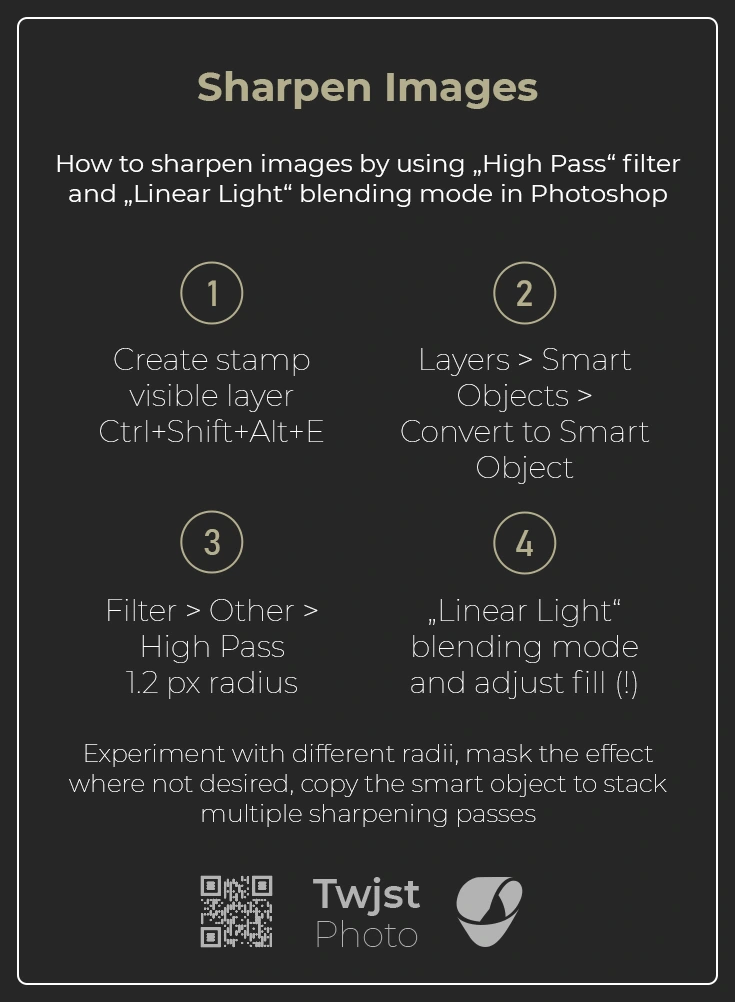
Here are the steps you need to follow
At the end of this post, you can find a free cheat sheet to remember the technique!
- Create a new empty layer on top of your layer stack
- Then press Ctrl + Shift + Alt + E
- With the new layer selected:
- Choose Layers > Smart Objects > Convert to Smart Object
- OR right click one of the selected layers and choose “Convert to Smart Object”
- Choose Filter > Other > High Pass
- Enter your preferred radius value (I start with 1.2 px) and hit OK
- Don’t panic when your image looks weird
- With the layer still selected:
- Change the layer blend mode to “linear light”
- Adjust the fill (!) until your ok with the result
🎉Tadaaaa, there you go. You are most welcome 🙂 Maybe you dont want your image sharpend everywhere, so just use a mask to blend in the effect where you want it. And since you are using a smart object, you can adjust the high pass filter after the fact. Experiment with different radii and see what you like best. You can also copy the smart object and stack different strenghts of sharpening on top of each other.
Make sure to leave a comment if you found this tutorial helpful!
Finally a disclaimer: I did not invent this method, I’m merely sharing what I am using for my images. I saw the use of linear light on Blake Rudis’ Youtube Channel – but I’d be surprised if he was the one to invent this technique. His videos on Photoshop techniques are great, make sure to check them out!
Did you like this Tutorial?
I hope it proves useful and you can take something with you. Let me know below if you have any questions, comments or suggestions – or share directly on social media.


